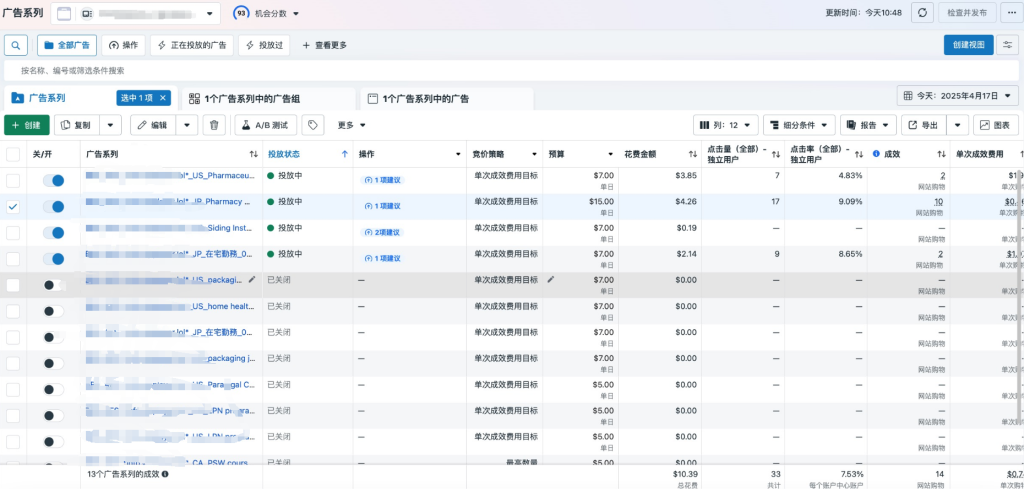
Facebook Pixel Setup Guide
The Facebook Pixel is a powerful tool for tracking website visitor behavior, helping you optimize ads, create remarketing audiences, and measure ad performance. Here’s how to set it up:

Basic Setup Steps
- Create Your Pixel
- Go to Facebook Ads Manager
- Navigate to “Events Manager” > “Data Sources” > “Pixels”
- Click “Add” to create a new Pixel
- Name your Pixel (typically using your website name)
- Install Pixel Code
- Choose “Manually install the code” option
- Copy the base code (starting with
fbq('init', 'PIXEL_ID')) - Paste the code into the
<head>section of every page on your website
- Verify Installation
- Use the Facebook Pixel Helper browser extension to check proper installation
- Check in Events Manager whether the Pixel is receiving data
Advanced Configuration Options
Event Tracking Setup:
- Standard events (like Purchase, CompleteRegistration):
fbq('track', 'Purchase', {value: 100.00, currency: 'USD'}); - Custom events:
fbq('trackCustom', 'MyCustomEvent');
Advanced Matching:
- Enable advanced matching to connect more user data (hashed emails, phone numbers, etc.)
- Improves match rates and attribution accuracy
Conversion API Setup:
- Server-side event tracking to complement browser-side tracking
- Increases data accuracy and reduces data loss from browser restrictions
Best Practices
- Add specific event codes to key conversion pages (thank you pages, signup completion pages)
- Set value parameters to track revenue (especially important for ecommerce)
- Regularly check Pixel functionality (at least monthly)
- Use the Event Setup Tool to simplify standard event configuration
- Consider implementing Conversion API for better data reliability
Important Considerations
- Ensure compliance with Facebook policies and local privacy regulations (like GDPR)
- Disclose tracking technologies in your privacy policy
- Provide users with opt-out options where required


